
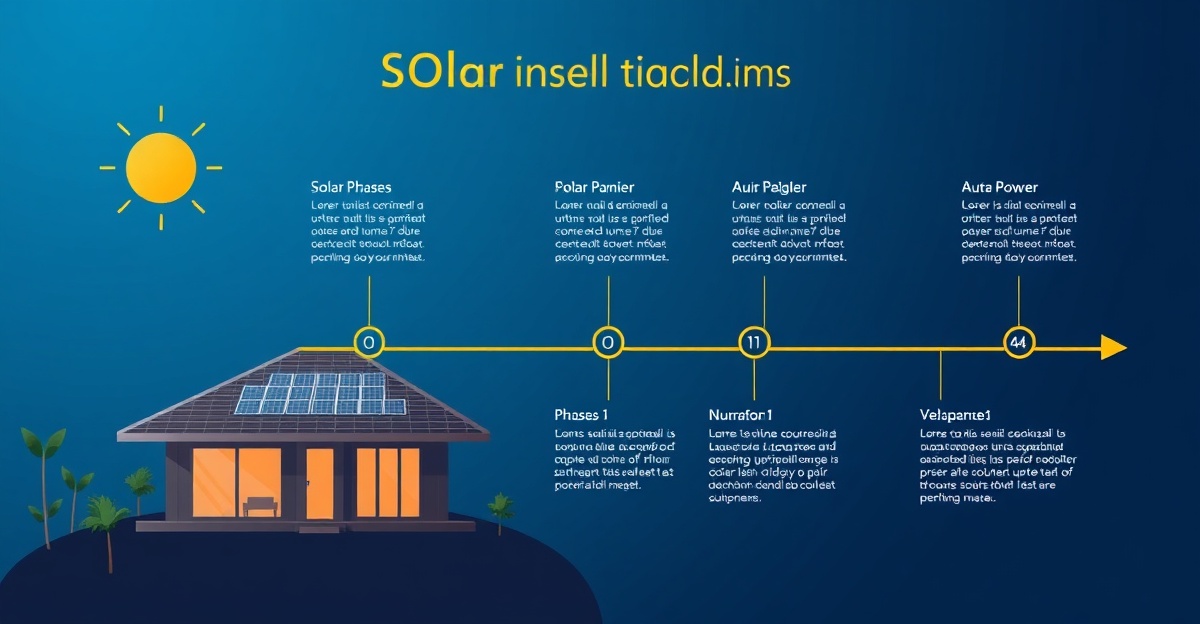
Solar Installation Timeline: Know Exactly What to Expect (Week by Week)
Realistic solar installation timeline from quote to connection. Understand each phase so there are no surprises. G Gill Electricals Melbourne.
G Gill Electricals
Solar Installation Timeline: Week-by-Week What to Expect
One of the biggest complaints we hear from other solar companies’ customers: “They never told me how long it would take. It dragged on for months. I had no idea where my project stood.”
Not on our watch.
Let’s break down the realistic timeline from your first contact to flipping the switch on your new solar system.
The Complete Timeline: 3-8 Weeks
Why the range? Permit processing times vary by council. Some approve in 3 days; others take 2 weeks. We can’t control that, but we CAN keep you informed every step of the way.
Week-by-Week Breakdown
Week 1: Initial Contact & Site Assessment
What Happens:
- You contact us (call, email, or form submission)
- We respond within 24 hours (guaranteed)
- We schedule your free site assessment (usually within 3-5 days)
- Our team visits your home and evaluates:
- Roof condition, angle, and sun exposure
- Electrical panel capacity
- Shading patterns
- Your energy usage
Timeline: 5-7 days from first contact to assessment complete
What You Need to Do:
- Provide your address and contact info
- Be home for 30-45 minute assessment
- Have recent electricity bills available (helps us design right system)
What You Get:
- Detailed assessment report
- System size recommendation
- Estimated savings calculations
- Preliminary quote
Our Communication:
- We text/email within 24 hours of contact
- We confirm assessment appointment 24 hours prior
- We send assessment report within 24 hours of visit
Week 2: Design & Quote Approval
What Happens:
- Our design team creates custom system layout for YOUR roof
- We calculate exact costs (equipment, labor, permits, rebates)
- We prepare detailed quote showing all costs and rebates applied
- We send quote to you for review
Timeline: 3-5 days from assessment to quote delivery
Quote Includes:
- System specifications (panels, inverter, battery if applicable)
- Equipment costs broken down
- Installation and labor costs
- Permit and inspection fees
- Government rebates applied (upfront deduction)
- 5-year labor warranty details
- Financing options (if interested)
- Timeline to installation
What You Need to Do:
- Review quote carefully
- Ask questions (we’re here to answer)
- Decide on financing method
- Sign agreement when ready
Timeline: 1-3 days for you to review and decide
Our Communication:
- Quote sent within 24 hours of design completion
- We call to walk through quote (if you prefer)
- We answer all questions before you sign
Week 3: Permits & Paperwork Phase
What Happens (THIS IS WHERE TIMING VARIES):
Day 1-2:
- You sign installation agreement
- We collect any final documentation (roof photos, electrical plans)
- We prepare permit applications
- We submit building and electrical permits to council
Days 3-7:
- Council reviews permit (timing varies: 3-14 days typically)
- We might need to provide additional info (usually minor)
- Council approves permit
- We receive approval letter
Days 8-10:
- We notify electrical authority of installation
- We schedule electrical inspection
- We confirm installation date with you
- We prepare materials and crew schedule
Timeline: 5-10 days (depends on council processing)
What You Need to Know:
- We handle ALL paperwork (you don’t do anything)
- Permit delays are usually council-side, not ours
- We chase approvals to keep things moving
- We keep you updated every 2-3 days
What We’re Doing Behind Scenes:
- Ordering equipment (panels, inverter, racking, wiring)
- Arranging crew schedule
- Preparing safety plans
- Training our installation team on YOUR specific system
Our Communication:
- Email confirming submission to council
- Update when approved (with timeline)
- Confirmation of installation appointment 1 week prior
- Reminder text/call 24 hours before installation
Week 4: Installation Day
What Happens:
Morning (6:30am-7:00am):
- Our crew arrives at your home
- We set up work area and equipment
- Safety briefing with you
Mid-Morning (7:00am-12:00pm):
- Solar panels mounted to roof (~3-4 hours)
- Racking system installed
- All panels connected
- First electrical connections made
Lunch Break (12:00pm-1:00pm):
- Crew takes 1-hour lunch
- You can check on progress
Afternoon (1:00pm-4:00pm):
- Electrical work (inverter, wiring, switchboard upgrades if needed)
- Safety switches and breakers installed
- All connections tested as installed
- System programming
Final Hour (4:00pm-5:00pm):
- Full system testing under load
- Safety verification
- System handover and customer training
- Photos for documentation
Timeline: 1 full day (6-8 hours on-site)
What You Need to Know:
- Your power will be briefly disconnected (30 min - 1 hour for safety work)
- The crew will notify you when this happens
- Have water and snacks available (crew works hard!)
- Multiple team members will be on-site
- Project is documented with before/after photos
What You Need to Do:
- Be home (we need access to switchboard)
- Ensure driveway is clear for work van
- Have any questions ready
- Attend handover training (15-30 minutes at end of day)
Our Communication:
- Confirmation call 24 hours before installation
- Text when crew is 30 minutes away
- Update if any issues arise during install
- Photo sent same day showing completed panels
Week 5: Inspection & Grid Connection
What Happens:
Days 1-2:
- Council electrical inspector schedules inspection
- Inspector visits your home (usually 1-2 hours)
- Inspector verifies installation meets all electrical codes
- If approved: Certificate of Compliance issued
Days 2-3:
- If minor issues: We fix them (included in warranty)
- Re-inspection scheduled (usually next day)
- Final approval received
Days 3-5:
- We notify electrical utility of system
- Utility arranges grid connection
- Typically same week connection happens
Days 5-7:
- Your system is activated
- You can start monitoring energy production
- You officially begin saving on electricity
Timeline: 1-2 weeks (depends on inspector availability)
What You Need to Know:
- Inspection is required by law (safety verification)
- You don’t need to be home for inspection (our team coordinates)
- Connection to grid is automatic once approved
- You should see energy savings on first bill
Our Communication:
- Email confirming inspection scheduled
- Update after inspection (any issues?)
- Confirmation once grid-connected
- Guide for monitoring your system via app
Real Timeline Examples
Example 1: Smooth Process (5-Week Total)
- Week 1: Contact → Assessment (5 days)
- Week 2: Design → Quote signed (4 days)
- Week 3: Permits approved quickly (5 days)
- Week 4: Installation day (1 day)
- Week 5: Inspection & connection (5 days)
- Total: 5 weeks
Example 2: Council Delays (8-Week Total)
- Week 1: Contact → Assessment (5 days)
- Weeks 2-3: Design & permits (9 days—council took 7 days)
- Weeks 4-5: More permit processing (7 days—needed additional info)
- Week 6: Installation day (1 day)
- Weeks 7-8: Inspection & connection (10 days—inspector backlog)
- Total: 8 weeks
The Difference? Council processing times. We can’t control those, but we minimize delays and keep you informed.
Timeline Challenges (And How We Handle Them)
Challenge #1: Permit Delays
- Some councils process in 3 days
- Others take 2-3 weeks
- We chase applications to keep moving
- We communicate progress to you weekly
- If delays exceed 2 weeks, we escalate
Challenge #2: Weather Delays
- Installation may postpone if unsafe (high winds, heavy rain, hail)
- We reschedule as soon as weather clears
- Safety > Schedule (always)
- Usually only 1-3 day delays
Challenge #3: Roof Repairs Discovered
- If roof needs repair before install
- Repairs add 1-2 weeks
- We identify this during assessment
- We include repair costs in quote upfront
Challenge #4: Electrical Panel Upgrades
- Older homes sometimes need switchboard upgrades
- Adds 1-2 weeks to timeline
- We identify this early and discuss options
- Included in overall warranty
Our Commitment: If delays exceed our control (permit processing, inspection scheduling), we offer timeline compensation or discount. You shouldn’t suffer because of external delays.
What NOT to Expect
Don’t expect:
- ❌ “Instant installation” (3-8 weeks is realistic)
- ❌ No communication (we update you regularly)
- ❌ Surprise costs (quote is final; no surprises)
- ❌ Interruptions to electricity during inspection/setup (temporary only for safety)
Communication Throughout
Our Promise:
- ✅ Response within 24 hours to all inquiries
- ✅ Weekly updates on project status
- ✅ Confirmation calls/texts before key milestones
- ✅ Progress photos shared
- ✅ Direct contact number for urgent questions
You Always Know:
- Where your project stands
- What’s happening next
- When crew will arrive
- What to expect each day
- Timeline to completion
Setting Realistic Expectations
Best Case: 4-5 weeks (quick permits, perfect weather, no roof issues) Typical Case: 6-7 weeks (normal permit processing, standard conditions) Worst Case: 8-10 weeks (permit delays, roof repairs, inspection backlog)
Most Common: 6 weeks for complete project
Ready to Get Started?
Every home is different. Your specific timeline depends on your council, roof condition, and current electrical system. But one thing is guaranteed:
We’ll keep you informed every step of the way.
Call: 0450 980 005
Email: sales@ggillelectricals.com.au
Free timeline estimate: 24-hour response
Let’s get your solar system installed right—and on schedule.
Ready to Get Started?
Contact G Gill Electricals for expert advice on your electrical and solar needs.
More Articles
Professional Solar Installation Quality: Why It Matters More Than You Think
Why professional solar installation is critical for safety, performance, and warranty. What separates quality installers from cut-rate competitors.
Solar ROI Calculator: Will Solar Actually Pay for Itself?
Real ROI calculations for solar systems in Melbourne's west. See actual payback timelines, long-term savings, and whether solar makes financial sense for your home.
Battery Storage Solutions for Solar & Backup Power
Home and business battery storage systems for solar energy storage and emergency backup. LiFePO4 technology, 10+ year warranties, 24/7 backup power in Melbourne's west.